More stylus sillyness in the style of the iPlume. To reiterate: a stylus for a touchscreen device is basically a conductive stick. It needs a conductive tip to touch the screen and a conductive body to carry the current through you. Anything conductive which touches you anywhere will do.
I saw this rather nifty design for a finger-mounted pen and figured I could capitalize on that. The styling was rust paint (I do enjoy that stuff, don't I?), a couple of fins and some gears, which just happen to fit on the mountings for the screws holding the parts together, and if they weren't glued in place, they'd rotate just fine. Too late, I thought of ways to preserve that motion. Oh, well; maybe some other time.
The way this works is by replacing the ink cartridge with a copper wire. The twist of wire at the front is ground down a bit, providing the necessary quarter-inch surface required for the screen to read it.
But rather than directly touching the wearer's finger, the wire passes through the body of the housing and touches the back of the wearer's hand. And it does, indeed, work. Not well, though. I may fit some spongy conductive rubber over the end or something so that the tip smushes a bit on the touchscreen, both for increased area and to protect the screen from scratches.
A desperate attempt to control the look of our everyday environment with precious little artistic creativity and no relevant skills.
Sunday, March 26, 2017
Yes, More Furniture
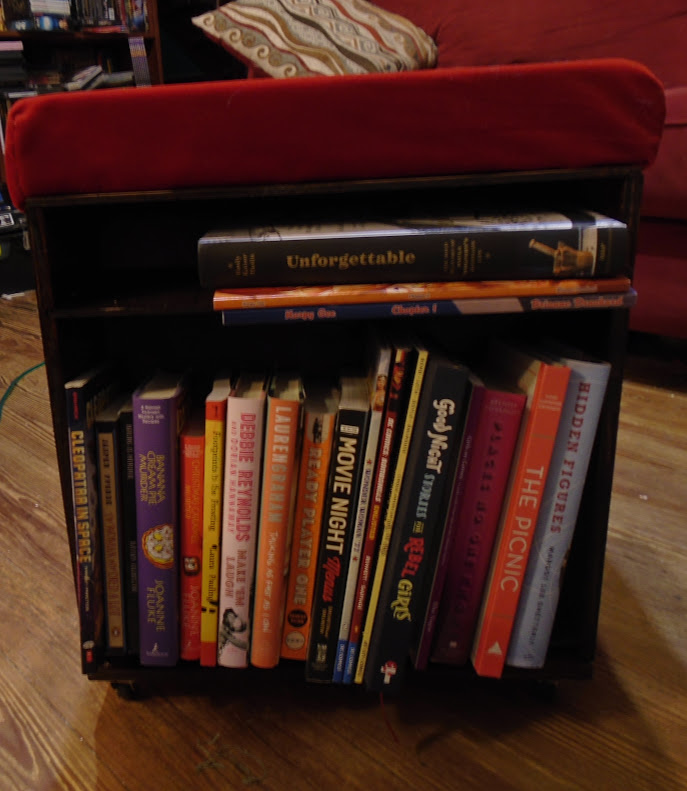
The additional bookshelves we need apparently aren't going to build themselves, even though I've given them every opportunity, so here and there, I have to take action myself. Certain persons to whom I am married require more immediate access to unread books, keeping the queue of stuff to read close at hand and not confounding them with books already read. Solution? Combination footstool/bookcase.
Unlike the game cart, I went to the CNC for this. I used an awful lot of dado joints, but in a far more sophisticated way. The basic structure is simply a cube open on two faces, but internally, it's more complex
One side has two shelves sloped at a 10 degree angle to improve visibility from above, just tall enough to hold regular paperbacks. The other has a large shelf sloped shelf and a small horizontal one to hold whatever else needs holding. Going much larger than I usually do, I used a 1/4" bit on the router, which meant I could slide in the 1/4" boards used for the shelves, using a little glue and some tiny nails to secure them.
As ever, it's a couple of days for finishing the wood, some tiny wheels on the bottom, and some foam and velvet for the top.
It doesn't hold nearly enough books. Nothing ever does. But at least it holds most of the books she's currently hoping to read.


