Sunday, February 26, 2012

Clock

We wanted Alex to have a clock with hands that fit the theme of the room, but we couldn't find anything that quite worked for us, so we decided to build our own. The clock mechanism proper is an inexpensive battery-powered job from the craft store, but we had to make the face.

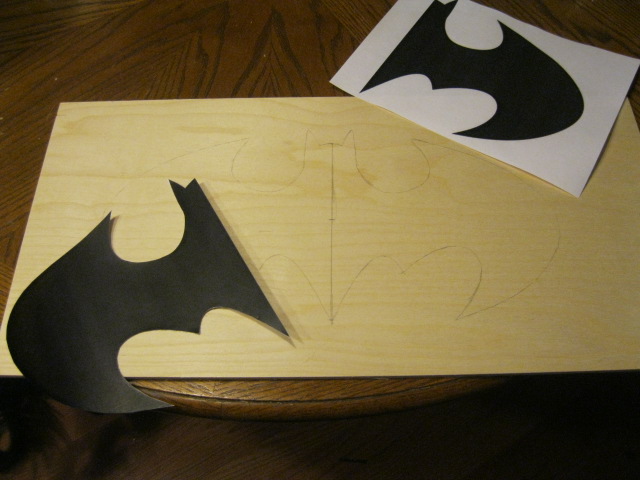
I started by enlarging a Bat symbol and printing it out (splitting it over two sheets of paper to get it to the size I wanted). Cut out, and trace onto a thin piece of wood:


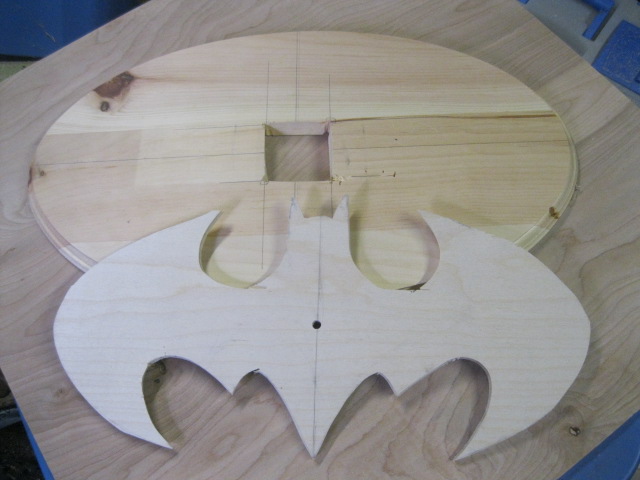
The jig saw did a surprisingly good job of cutting out the bat shape. I thought I'd have to rough it out with the jig saw and then finish by hand with a coping saw, but the power tool was able to do it all to my satisfaction. I put a hole in the middle for the center of the clock. Then I got a big oval wooden piece from the craft store, found the center, traced the clock body around it, drilled holes in the corner, and used the saw to chop out a space the clock could fit through.


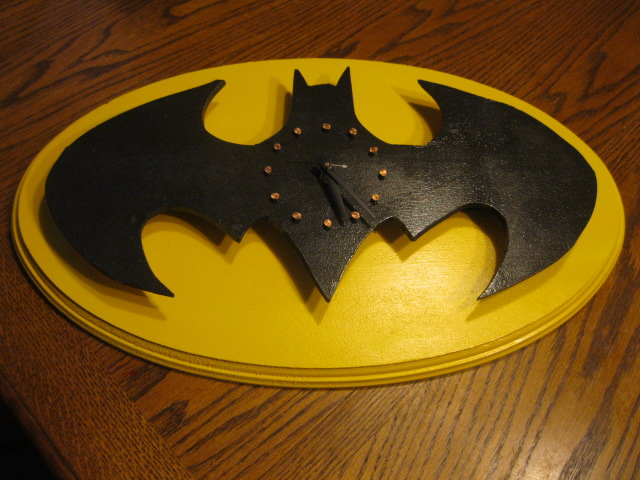
Using a protractor, I marked spots at 30 degree intervals at a set distance around the center of the clock and drilled small holes for later reference. The oval got a coat of yellow paint and the bat shape got black. Added copper nails in the little drilled holes, installed the clock behind the bat piece, then attached that to the oval. The battery can be removed through the hole cut in the center of the oval. This is the finished clock:


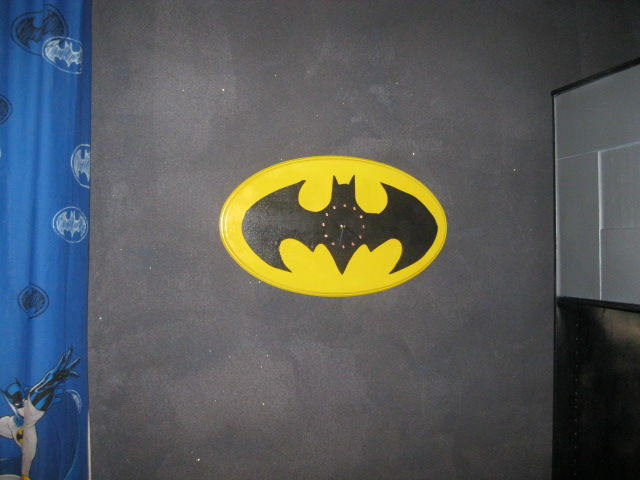
And here it is on the wall:

Friday, February 10, 2012

Computer

One of the features of Alex's new bed is that it has a desk underneath, giving him a nice place to do homework and put his computer. The image I've always had of the Batcomputer has involved a big, wrap-around screen:


Part of this was easy. We had a modestly-sized LCD monitor kicking around upstairs, so we just plugged that in, doubling his screen size. But to make his "computer" bigger still, we went low-tech to create something that looked like a computer screen but wasn't. I started with a relatively inexpensive shadow box from the craft store, a pair of inexpensive USB LED light bars (ordered through Amazon; they took a month to get here because they were shipped from China, but they were very inexpensive), a cheap USB hub, and a sheet of photocopier transparency "paper."


The cheapness of the shadow box was an asset here. Better kinds have a hinged front. For the inexpensive model, you have to take the back off, like a picture frame. That made it easier to cut off two corners of the back, making an opening just big enough in each for the light bar cables to run through.


A coating of foil on the backing, a little superglue to hold the light bars in place, and a map of Gotham printed on the transparency sheet. The edges fit just under the frame quite nicely.


The base is even simpler. Two bits of a thick dowel fastened to a small wooden oval from the craft store. Paint black and attach to the "monitor" portion. Plug the USB cables into a small hub, plug that into a USB port, and there it is.