The one on the left has the appropriate title "The 1000 Secrets Of The Batcave."
A desperate attempt to control the look of our everyday environment with precious little artistic creativity and no relevant skills.
Sunday, January 29, 2012
Conventional decor
Yes, just some pretty pictures, from Stephanie's good friend Breadchick. They're pages from a calendar of old Batman covers, recycled as framed art.

The one on the left has the appropriate title "The 1000 Secrets Of The Batcave."
Saturday, January 21, 2012
Cabinetry and shelves
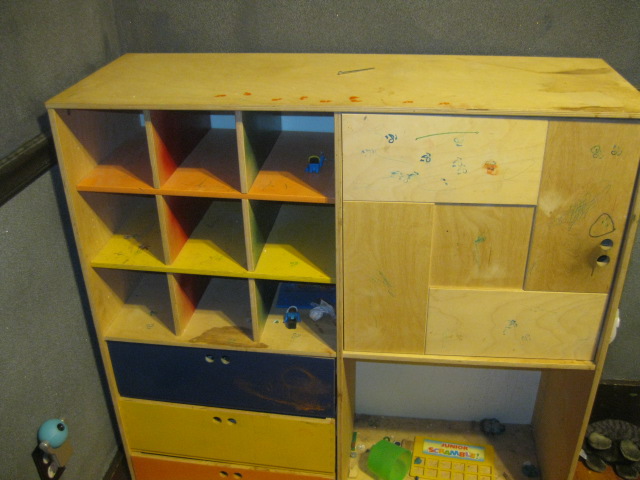
We started out with a couple of cabinets we'd gotten from Ikea well before Alex was born (I think it's the Yinden-svorden-bergstrom-leheuden-borkborkbork cabinet, now unavailable), but painted here and there with a few primary colors. And as soon as he could pick up a pen, pencil, or marker, Alex embellished them with his own contributions. Here's one of them.

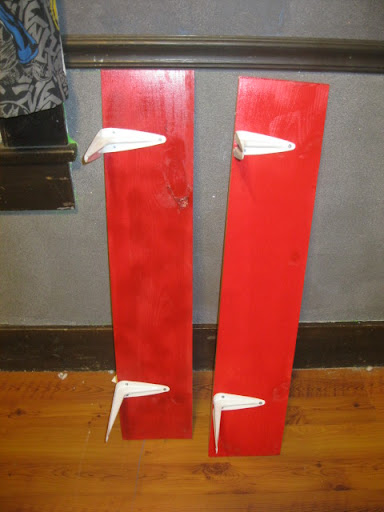
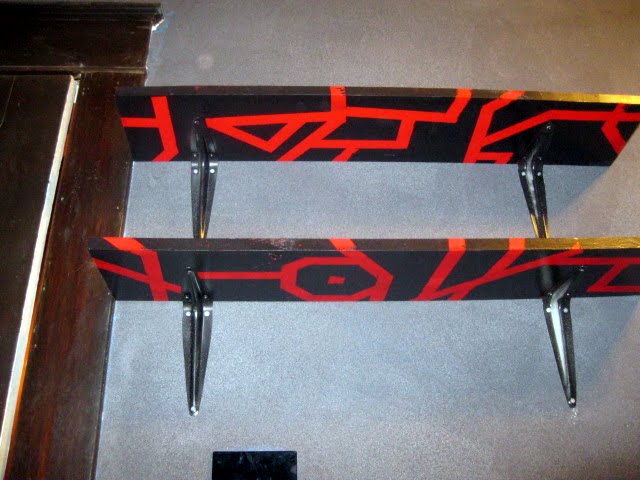
There were also a few makeshift shelves (just a plank and some brackets), painted a bright red to contrast with the blue/green walls, shown here after the room was repainted.

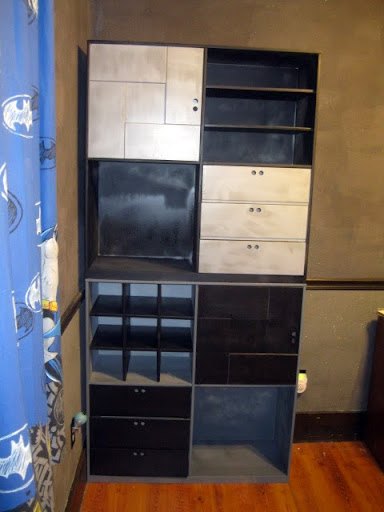
For the cabinets, the fairly obvious thing was to paint them in suitably Batman-ish black and gray. The lighting makes the darker gray on the lower cabinet appear bluer than it really is; there's also a bit of texture in some of the paint that doesn't come through here.

I was going to do the same thing to the shelves when I thought of the way the Justice League and related DCU cartoons, particularly Batman Beyond, depicted ultra-tech computer systems.

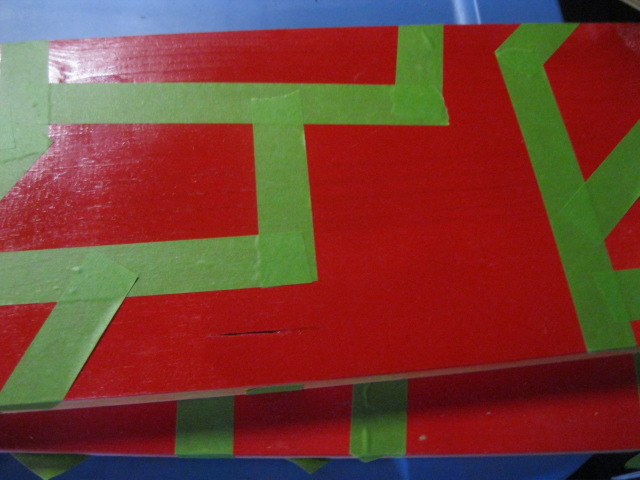
So instead of completely painting over them, I taped a bunch of lines to mask the original red in interesting patterns.

Paint, remove tape, remount shelves.
There were also a few makeshift shelves (just a plank and some brackets), painted a bright red to contrast with the blue/green walls, shown here after the room was repainted.
For the cabinets, the fairly obvious thing was to paint them in suitably Batman-ish black and gray. The lighting makes the darker gray on the lower cabinet appear bluer than it really is; there's also a bit of texture in some of the paint that doesn't come through here.
I was going to do the same thing to the shelves when I thought of the way the Justice League and related DCU cartoons, particularly Batman Beyond, depicted ultra-tech computer systems.
So instead of completely painting over them, I taped a bunch of lines to mask the original red in interesting patterns.
Paint, remove tape, remount shelves.
Thursday, January 12, 2012
Night light
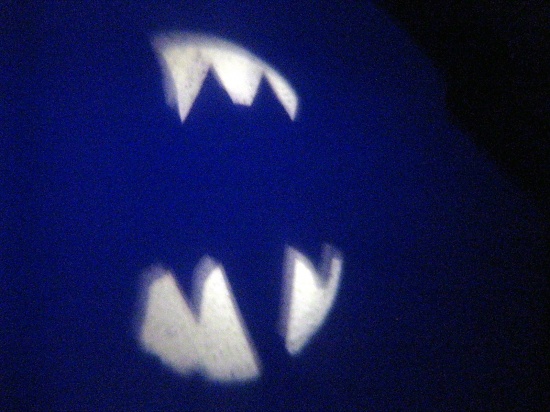
The Bat signal is an obvious choice for a night light, but how to make one? GE makes a night light which projects an image on the ceiling:

The easiest thing to do seemed to be to start with one of those and replace their image with one of my own. Opening the light was a little tricky. It's secured by three screws which need a special triangular head. Fortunately, they can also be opened with a very small torx head. Once the screws are off, the case opens and you can remove the sphere that contains the light and pop it open.
There's a light, image, and lens assembly inside. Taking it apart, you find a tiny bit of film in the middle which contains the image. I took that out and put it aside to use as a template for size.
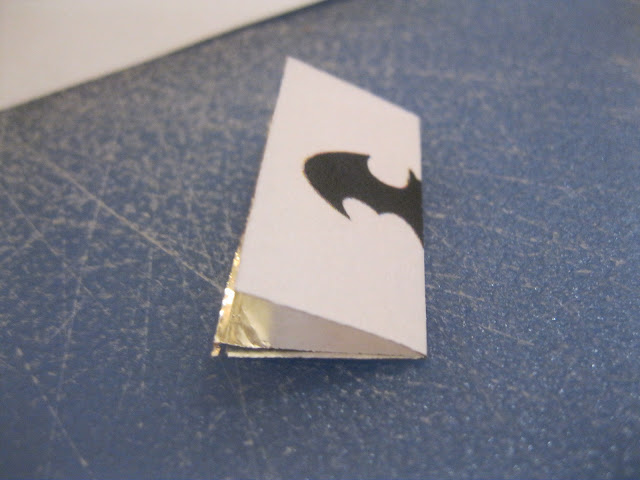
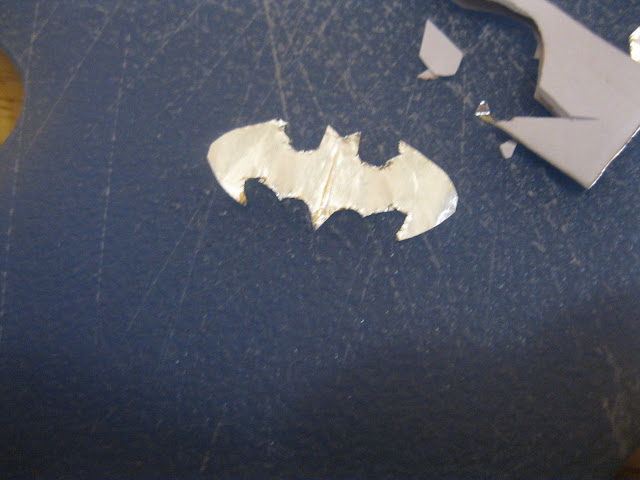
Making the Bat symbol was the trickiest part of the operation because it has to be so very, very tiny, ideally no larger than half the diameter of the film circle. I can't work on that scale, but I got close. I made the symbol by folding a slip of paper in half with a similarly sized bit of foil in it. Starting from the fold, I sketched out half of a Bat symbol and cut it out, then removed and unfolded the bit of foil. It ended up being a bit rough, but perfectly symmetrical. This is actually a different and slightly larger version than the one I ended up with, but it demonstrates what I did.
Next, I got some stiff, clear plastic (a bit of packaging that was about to be discarded) and, using the original film as a template, cut out two circles. The Bat symbol went between the clear disks to protect it and keep it in place. The sandwich went into the lens assembly where the old film was, then I reassembled the whole thing. How does it work? Well...
The easiest thing to do seemed to be to start with one of those and replace their image with one of my own. Opening the light was a little tricky. It's secured by three screws which need a special triangular head. Fortunately, they can also be opened with a very small torx head. Once the screws are off, the case opens and you can remove the sphere that contains the light and pop it open.
There's a light, image, and lens assembly inside. Taking it apart, you find a tiny bit of film in the middle which contains the image. I took that out and put it aside to use as a template for size.
Making the Bat symbol was the trickiest part of the operation because it has to be so very, very tiny, ideally no larger than half the diameter of the film circle. I can't work on that scale, but I got close. I made the symbol by folding a slip of paper in half with a similarly sized bit of foil in it. Starting from the fold, I sketched out half of a Bat symbol and cut it out, then removed and unfolded the bit of foil. It ended up being a bit rough, but perfectly symmetrical. This is actually a different and slightly larger version than the one I ended up with, but it demonstrates what I did.
Next, I got some stiff, clear plastic (a bit of packaging that was about to be discarded) and, using the original film as a template, cut out two circles. The Bat symbol went between the clear disks to protect it and keep it in place. The sandwich went into the lens assembly where the old film was, then I reassembled the whole thing. How does it work? Well...
Switches and outlets
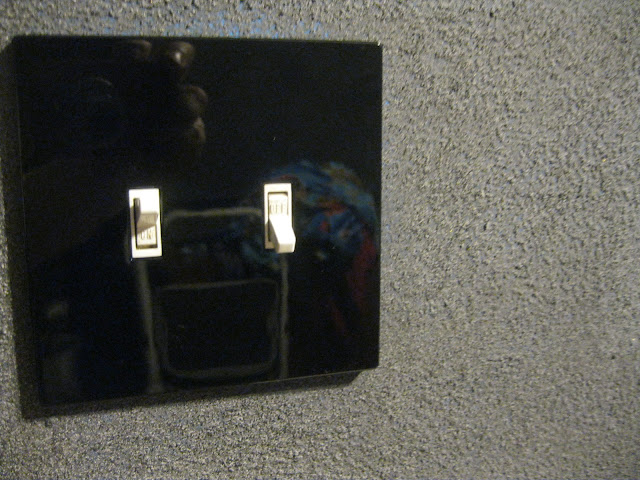
The old outlet covers and switchplates were white, which seemed wrong for the room. Fortunately, black plastic ones are very cheap.
Repainting
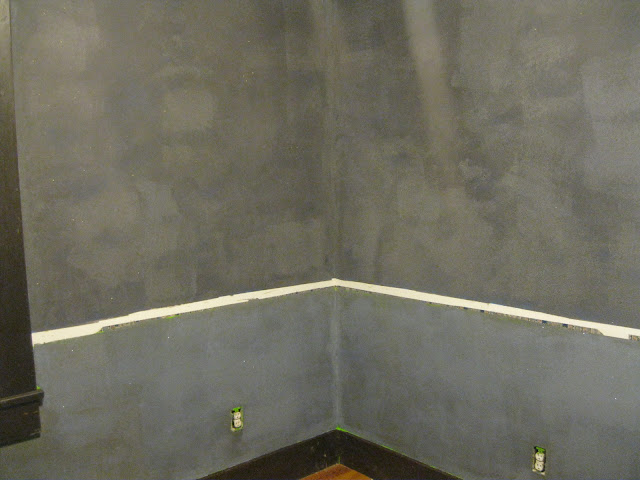
We kept the two-tone paint scheme, but used stone texture paints; if anyone cares: Valspar paint from Lowe's, Yosemite Heights on the lower part of the wall, Ancient Boulder above. Between the size of the room (those ten-foot ceilings add up) and the relatively low coverage, we used a lot of paint, six gallons altogether, and it was not cheap, so Alex is going to live with this until he moves out and goes to college. At which point I think Stephanie is taking the room over. From a distance, it looks like this:

Close up, though, the texture becomes apparent. The glints from the metallic dust admixture also become more visible.
Initial state of play
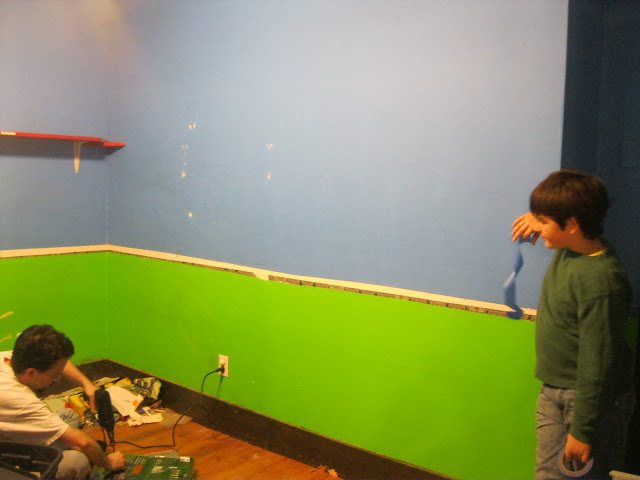
When we first decorated the room, Alex was a year or two old. We removed carpet (and with a small child and several dogs, so would you) and fussy-patterned wallpaper, put in laminate flooring, and painted with bright colors and a bit of a Scooby Doo theme. These are the initial colors.
Wednesday, June 9, 2010
Across the mousepad with leather and steam
The usual technique on the body of the mouse: a coat or two of gold, then a quick spritz of another color, quickly smudged with a paper towel or sponge. I used black for the USB gear drive, but brown for this one. Black is good for a dirty industrial look, but I like brown for elegantly aged brass. After drying, it got several coats of polyurethane for durability.
Wood veneer was cut to fit the mouse buttons, stained, and epoxied on. Close, but not quite there yet, I think. The epoxy is too thick, so there are noticeable gaps around the edges. Next time, I'll try superglue. The facing side of the mouse, where the thumb rests, is covered with leather, cut to fit and superglued on. It's actually very comfortable.
The smokestack on the far side is a bendy straw, filled with epoxy to stiffen it and sprayed with a thick "aged iron" paint. OK, but I can do better. After the bend, it goes through a hole drilled in the side, just far enough forward not to interfere with the grip on the mouse.
Subscribe to:
Posts (Atom)