Saturday, June 13, 2015

Scaling Up

The dragon I posted yesterday was maybe three inches across. This one isn't.


Ruler for scale. Obviously.

I'm still feeling my way around what bits to use under what circumstances, and I really need to work on hold-downs, but the CNC machine is doing whatever I tell it to, no matter the size.


Thursday, June 11, 2015

Fully Functional


I did a little tightening up here and a little adjusting there and...


Yep. Machine works. No sign of that drifting to the left. I've got some other prep work to do like putting threaded inserts into the waste board to make it easier to clamp pieces down, but I've basically got it functioning like it should. I'm running a larger-scale test, but after that, on to the inlay work.


Tuesday, June 9, 2015

First Carve

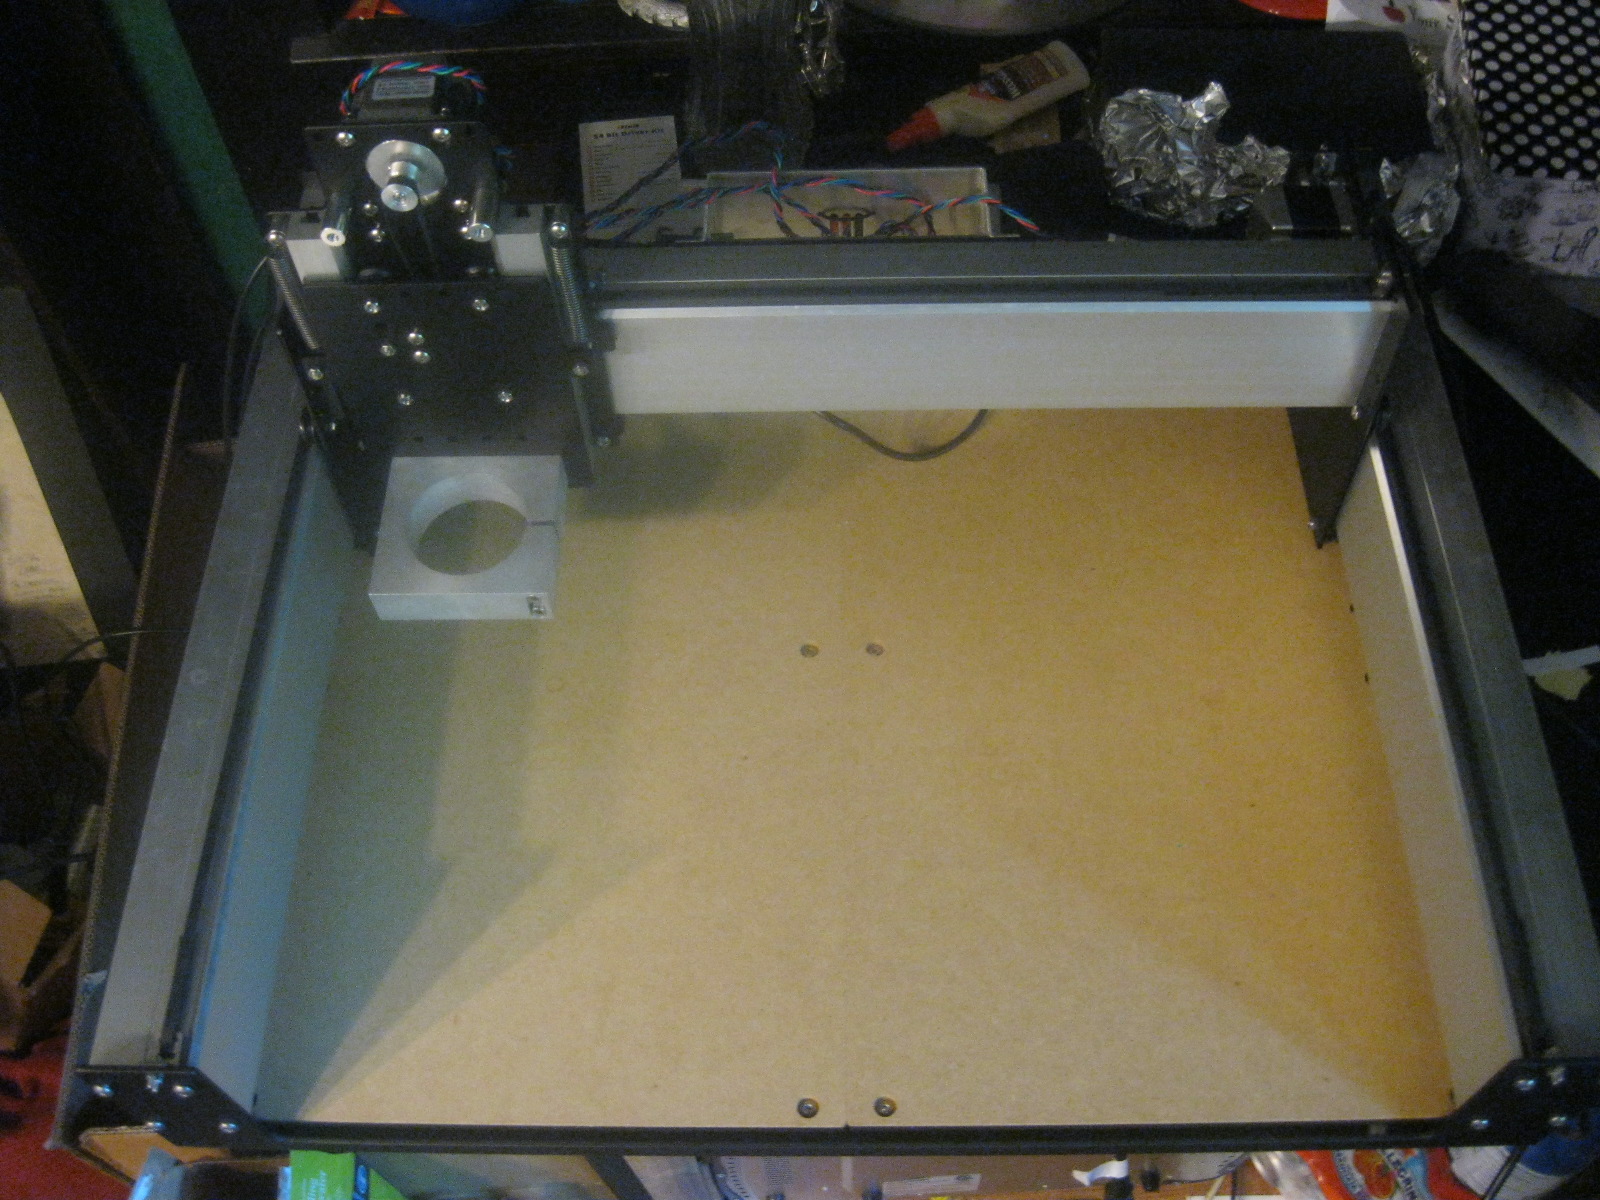
I managed to clean out a corner of the garage so I could run the CNC machine without filling my dining room with sawdust and noise. Watching it work is insanely cool.


But how does it work? Well, needs a little tuning. There's a bit of leftward stepping going on with the finished test piece, which suggests I'm losing some moves along the X axis. Probably just need to tighten up some pieces.


But I've finally got the machine plugged in and running. Now I can reasonably contemplate cranking out wooden pieces for Castle Panic, engraved stone, inlaid furniture for Stephanie, and all manner of things.


Saturday, June 6, 2015

Shapeoko 3, #90


Now witness the firepower of this fully ARMED and OPERATIONAL battle station!


 OK, maybe not quite so impressive as all that, but at this point, I have a fully assembled CNC machine which is responding to controller software commands and gcode files. Now, what shall I make first?

Sunday, May 24, 2015

Tabula Rasa

For some time, Stephanie's been wanting something like a coffee table for the living room to use instead of a series of tiny folding tables which get moved into and out of the room as necessary. After, at long last, looking at the design of some mid-century modern tables, I realized that building such a thing would be remarkably easy. And it was.

Table, with dog for scale.

I started with a couple of sheets of plywood (a thin birch piece for the surface, a thicker pine one for the underside). I scribed a triangle on the surface, used a couple of old paint cans to draw curves into the corners, clamped them together, and cut out the shape with the usual jig saw.

Using a little simple geometry, I found the center of the triangle constituting the lower piece, drew some lines out from there towards the corners, and put the brackets for the legs about two thirds of the way out from the center towards each corner. I used angled brackets for the legs, and cut the ends of the legs at a matching ten-degree angle. Doing the top and bottom as separate pieces conveniently allowed me to drill through the bottom piece without worrying about marring the top.

Once that was done, I glued the top and bottom parts together (clamped together for about a day), put iron-on birch trim around the edges and trimmed it back, stained it a reddish-brown (sorta mirroring the living room's largely red color scheme), and put on lots and lots of coats of polyurethane finish, occasionally sanding between coats.


Helpful scale dog provides scale.

The result is, it appears, a nicely stylish table, sized and colored to suit the room it's in, which cost maybe $75, with the manufactured legs and brackets being the most expensive components. Once I get the CNC mill going, I may experiment with smaller side tables in the same style, but with some Atomic Age inlay.


Thursday, April 2, 2015

Brick. Or stone. Or chalk. Or something.

OK, one more exotic material. Laybrick isn't, despite the name, brick-based. Rather, it's a composite of plastic and chalk dust, and is marketed as providing a sort of stone-like appearance. And it kind of does. The surface doesn't have the gloss of plastic or the metallic sheen of the copper and bronze filaments I've played with. Rather, it's got a faintly porous, matte surface like unpolished white limestone or perhaps a ceramic. However, what I thought it most resembled was bone. So:


It prints very smoothly, certainly. It's very difficult to see any kind of grain in this, even close up. There were some issues with the top layer and the protruding spikes, but I suspect that's up to my printer settings, since that sometimes happens with other filaments I use as well.

One of the advertised properties of this material is that it provides different textures depending on the temperature at which it prints. Cooler is smoother, hotter is rougher. I attempted printing an object with the same temperature-varying plug-in I used to print the wood pieces. The results weren't as impressive. There were striations, but they weren't particularly visible. I may try again with a greater temperature range.


Sunday, March 15, 2015

Wood


One last experimental filament: wood. This filament is a mixture of plastic and fine-grained wood fibers, alleged to produce a wood-like look and feel. Sounded fun, so I ordered a small roll. Long story short: not bad.


The first bit of difficulty with this is that it comes loosely coiled in a bag, secured with a zip-tie, rather than on a spool like other filaments. I think it's because the filament is relatively brittle, so it can't be wound as tightly. OK, but how do you put it on the printer? You could cut off the zip-tie and put it on a spool holder, but you run the risk of it uncoiling all over the place. What I did in the short term was to loosely coil some of it around an empty spool and print from there, putting the main coil back in the bag until it's needed. So far, seems to work all right.

The second potential problem is one I'd been forewarned about, so I was able to get out ahead of it. Word on the street is that the fibers in the filament cause clogging. I replaced the usual 0.4mm nozzle on my printer with an 0.75mm one, and I had no clogging issues at all.

Printing was a little iffy because adhesion seems inconsistent. On my first print, the tall, skinny item I was printing broke off about a quarter of the way up when I pulled it off the plate; the bottom of the piece was stuck to the printing surface more strongly than some of the layers farther up were to each other. On a later print, some of the support material didn't stick at all well to the plate, so the piece came loose and didn't finish successfully. Printing seems to be best on blockier pieces which have a lot of surface area touching the plate.

The filament itself doesn't look all that woody once printing is complete. It's a matte brown which certainly is a wood-like color, and the texture is, indeed somewhere between plastic and wood, but it's not, in itself, all that convincingly woody. It's most like a sort of really thick, dense cardstock. However, here's where another of the wood filament's properties comes in to play. The precise color is sensitive to printing temperature. Higher temps darken the wood fibers. And as it happens, there's a plugin for Cura which takes advantage of this very property. The temperature of the hot end changes during printing, creating light and dark bands, emulating wood grain, and I think that works pretty well. For another piece, I'm considering using a bit of stain and shellac.

So now that I've got that printed out, I thought I'd take stock of where our Castle Panic  set is now. At this point, the walls and most of the towers are stone-painted pieces. The wizard's tower is copper with heavy natural patina. I've also got custom pieces for tar, some painted flame tokens, a monster-themed cup we keep the dead monsters in, and a one-piece dice tower which has nothing to do with Castle Panic, but we use it anyway. At the rate we make new pieces, and at the rate the original set is wearing out from heavy use, I may end up rebuilding the whole game.