As a long-time gamer, I've played and continue to be involved in games which use hex maps, going back to Squad Leader and other Avalon Hill products. One of the earliest such games I played with the Metagaming/Steve Jackson classic Ogre, for which I've already done a bit of printyness. Having 3d cybertanks ready to roll is great, but what about the other units? The internet being what it is, somebody's already way ahead of me. The units are great, but can I add anything to that? Nifty as they look, they're missing something important for actual game play: stats. But that's easily dealt with. Whip up a hexagon of the appropriate size, extrude it into a suitable thickness, add a little 3d text around the edges, and drop the unit miniature in the middle.
One of the other games I'm into is the likewise Steve Jacksony RPG GURPS, which likewise uses a hex grid to regulate movement. Here, again, the internet's got my back, with these lovely floor tiles which could be used to build nice dungeons. All I have to do is to add some hexes, as in this test piece.
The problem here, though, is one which has plagued gaming map-makers for decades. People tend to build in rectangles, but maps are in hexes. The source tiles I'm working with are naturally in various sizes of squares and rectangles, and while I can lay down a hex grid of whatever kind I want on top of a batch of tiles, I have to decide between making either a geomorphic hex grid which doesn't make sensibly shaped rooms or a geomorphic square grid which ends up with a bunch of not-quite-hex-shapes around edges. Oh, well.
A desperate attempt to control the look of our everyday environment with precious little artistic creativity and no relevant skills.
Showing posts with label ogre. Show all posts
Wednesday, February 18, 2015
Monday, February 9, 2015
The Factory States
So what is my robot printing?
Well, a guy over on the SJ Games forums had an idea about printing out the 3d Ogre standup sheets, created as part of the Ogre Kickstarter campaign, on clear plastic, producing clear Ogres where you only see the design, not the material it's printed on. I thought that was rather clever, and then realized that if I could extract the shapes from the graphics in the PDF, I could print out the shapes and assemble my own plastic Ogres. I got to the point of having .stl files ready to print:
And then I thought, "Hang on. I'm dealing with a 3d printer. Why am I messing around with 2d objects?" The goal became designing and printing a full 3d Ogre.
Design was largely an exercise in figuring out how to use Sketchup and what plugins I wanted to add in. Starting with some of the pieces in the "2.5d" design, there was a lot of use of the extrusion and scaling tools, and it all became much easier when I found a plugin that made geometric solids.
So far, so good. But printing was a problem. When I converted the design to gcode, Slic3r dropped significant parts. The conning tower, for example, simply vanished:
Why was it doing this? I had no idea. But on a hunch, I switched to different software for slicing and printing. Cura seemed to treat the design more as it was intended:
That looked more promising, so I sent it to the printer. And this is what I got:
This Mk. IV is about three inches long. I note that features smaller than about a half-millimeter may as well not be there. I may play with this a bit and add a few more surface features like some tread texture. I also want the conning tower to be a bit different in various ways, and the front part should have steeper angles. And at some point, I should build a Mk. V.
Friday, April 13, 2012
Ogre Mk. V
One of the niftier features of the designer's edition of Steve Jackson's classic wargame Ogre is the 3d Ogre designs, constructed from punch-out chipboard shapes.

As one of the stretch goals of the Ogre Kickstarter, reached absurdly quickly, they provided blank Ogre templates you can print out, decorate, and build yourself. But I thought "If I want a really big Ogre, I can do better than that..."
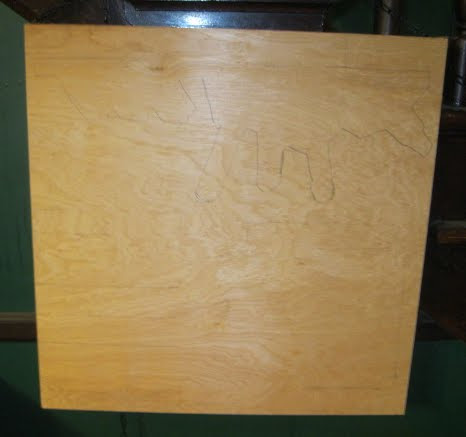
I started out with more 2' x 2' sheets of the quarter-inch birch plywood I used for the Batcave fan, a pencil, and a small art projector. Not cheap, but vital for this sort of thing. From a distance of about five feet, it magnified the largest piece of the Ogre to about two feet wide. Tracing the lines wasn't easy, given the slightly wobbly board I was working on and my utter lack of ability to draw a straight line.

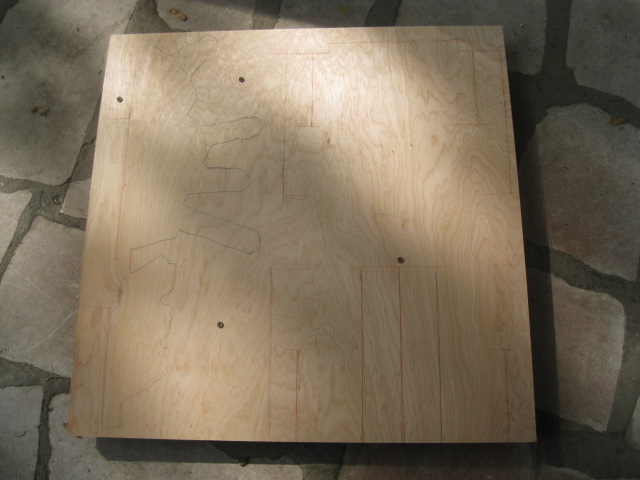
Indeed, I went back over the forms with a straight edge and a red pencil.

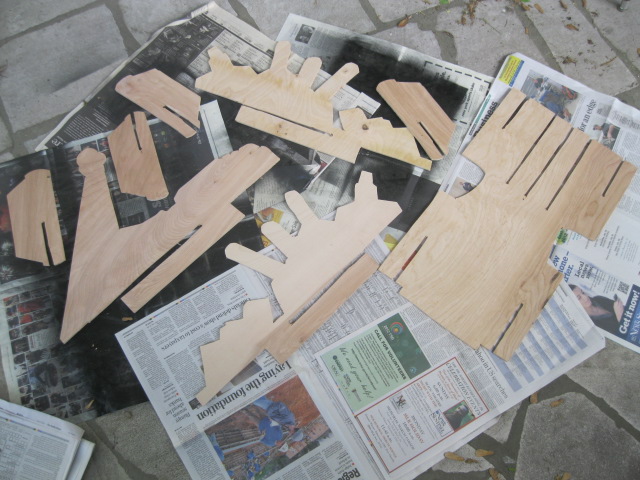
After clamping and screwing a few sheets of plywood together (so I'd have multiple sets of Ogre parts to experiment with), it became a simple matter of sawing things out. The only tricky bit was chopping out quarter-inch channels to fit the pieces together, which would be a lot easier if I had a router table.

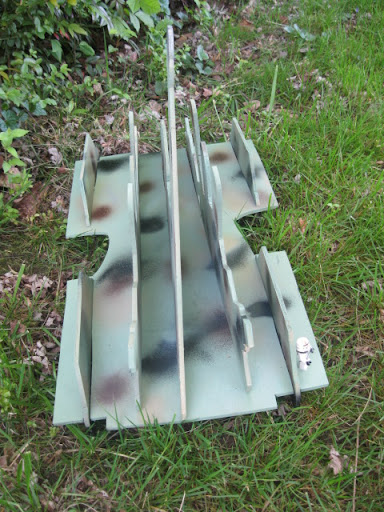
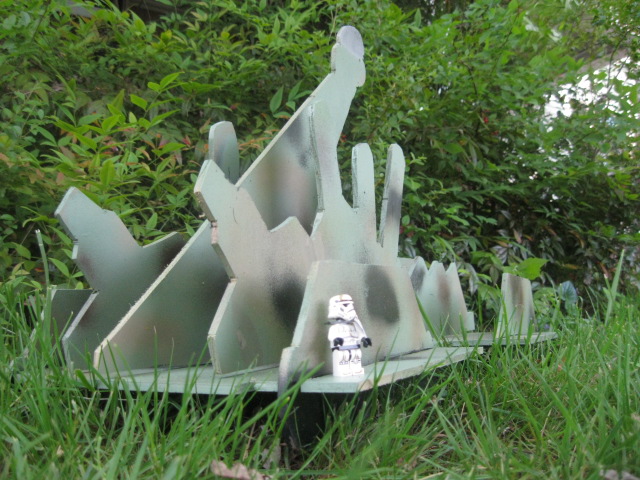
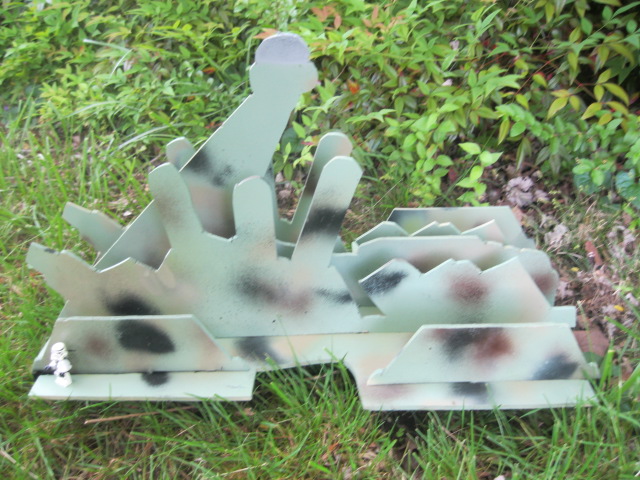
And after that, it was an even simpler matter of painting (light green base, spritzes of other colors to give the impression of camouflage) and then assembly. The finished Ogre is about two feet long and...well I haven't measured it, actually, but probably something over a foot from treads to the top of the conning tower. That's a Lego stormtrooper for scale.


As one of the stretch goals of the Ogre Kickstarter, reached absurdly quickly, they provided blank Ogre templates you can print out, decorate, and build yourself. But I thought "If I want a really big Ogre, I can do better than that..."
I started out with more 2' x 2' sheets of the quarter-inch birch plywood I used for the Batcave fan, a pencil, and a small art projector. Not cheap, but vital for this sort of thing. From a distance of about five feet, it magnified the largest piece of the Ogre to about two feet wide. Tracing the lines wasn't easy, given the slightly wobbly board I was working on and my utter lack of ability to draw a straight line.
Indeed, I went back over the forms with a straight edge and a red pencil.
After clamping and screwing a few sheets of plywood together (so I'd have multiple sets of Ogre parts to experiment with), it became a simple matter of sawing things out. The only tricky bit was chopping out quarter-inch channels to fit the pieces together, which would be a lot easier if I had a router table.
And after that, it was an even simpler matter of painting (light green base, spritzes of other colors to give the impression of camouflage) and then assembly. The finished Ogre is about two feet long and...well I haven't measured it, actually, but probably something over a foot from treads to the top of the conning tower. That's a Lego stormtrooper for scale.
Subscribe to:
Posts (Atom)