This is something I've been wanting to work with for a while. It's relatively easy to get contrasting colors when engraving or carving. Just paint or stain the surface; the area which is carved away will reveal the original color of the material. But I wanted to do it the other way around: leave most of the material the original color and fill in the carved bits with something else.
The obvious dodge here is to mask the entire surface with something that'll stick around during carving, throw paint/stain/whatever at the piece post-carving, then remove the mask which has been protecting the original surface. But how to do that, exactly?
This probably would have been easier if I'd started with wood rather than stone, but that's where I went with it. My first attempt was to use painter's tape. That didn't work at all. The milling goes just fine (Carbide bit a lotsa rpms? Yeah, a little sticky paper won't slow it down.), but the tape doesn't stick well enough. It started peeling up around the carved areas pretty quickly. Next approach: wax.
Step one was to shave a bunch of flakes of parafin wax.
Then get a garden variety marble floor tile and put the wax on it.
I heated the tile in a very low oven to help the melting process, but most of the work was done with an iron, protected from the wax by a layer of foil. That worked remarkably well, though I had to add a bit more to the corners.
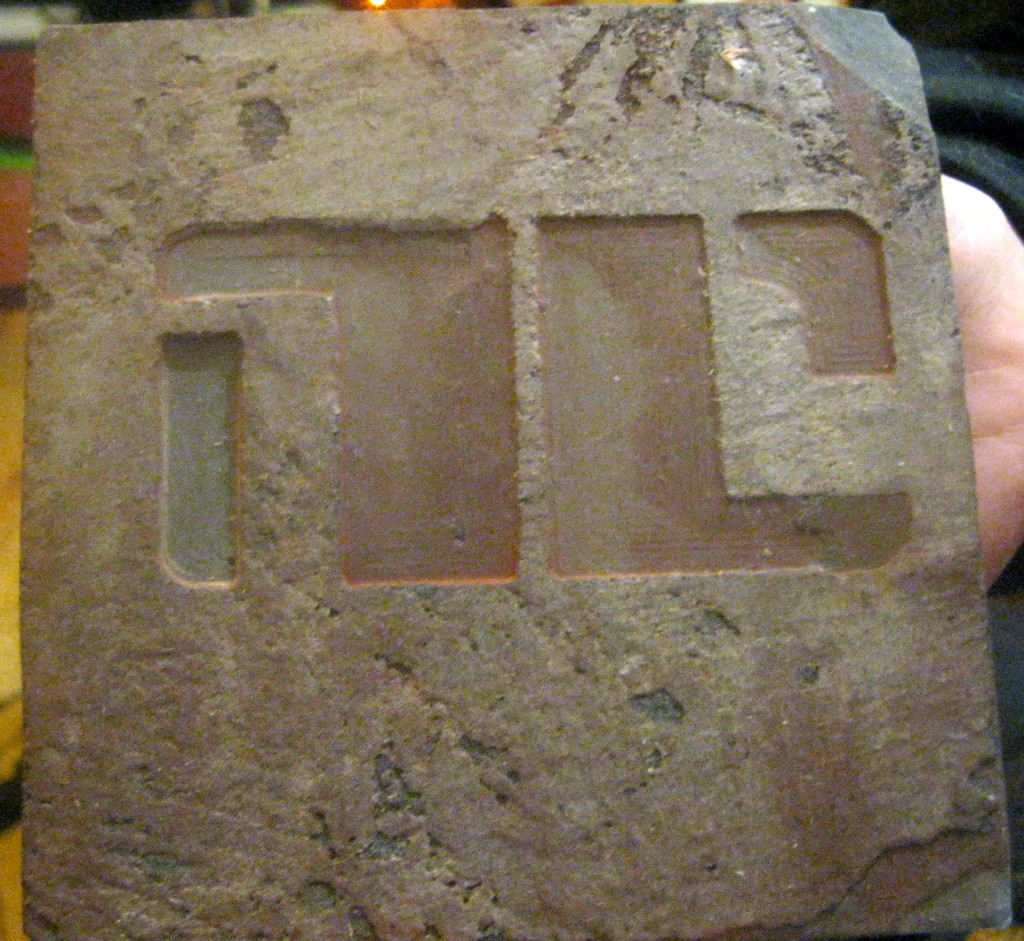
Once, the wax cools (which is pretty quick this time of year), it's off to carving. I zeroed my Z-axis to the surface of the marble. Like the tape, the thin film of wax offers no appreciable resistance to the carving bit.
Once the carving is done, there's a lot of dust, so I spent some time gently dusting it off. Then I masked over the under-waxed corners and edges and hit the piece with some spray paint.
(That design, by the way, is the House Carlyle crest from Greg Rucka's
Lazarus. You should read it.)
After a few hours to dry, it's back into a low oven to soften the wax. Parafin is flammable, so this is probably a bad idea and I should have used a hair dryer or the iron again. Anyway, when it's been heated enough for the wax to soften ("Bake at 200 degrees for 15-20 minutes or until golden brown."), scrape the layer of wax and paint off, mop up excess wax, and:
Not perfect, but not bad, either. This is probably close to the best I'll be able to do, but it might help if, on the carving step, I took more shallow passes rather than one deep one (deep, in this case, being 0.02 inches), but adding up to a greater total depth so that the paint can get a bit deeper.