Saturday, February 20, 2016

I For One Welcome Our New Breakfast-Making Overlords

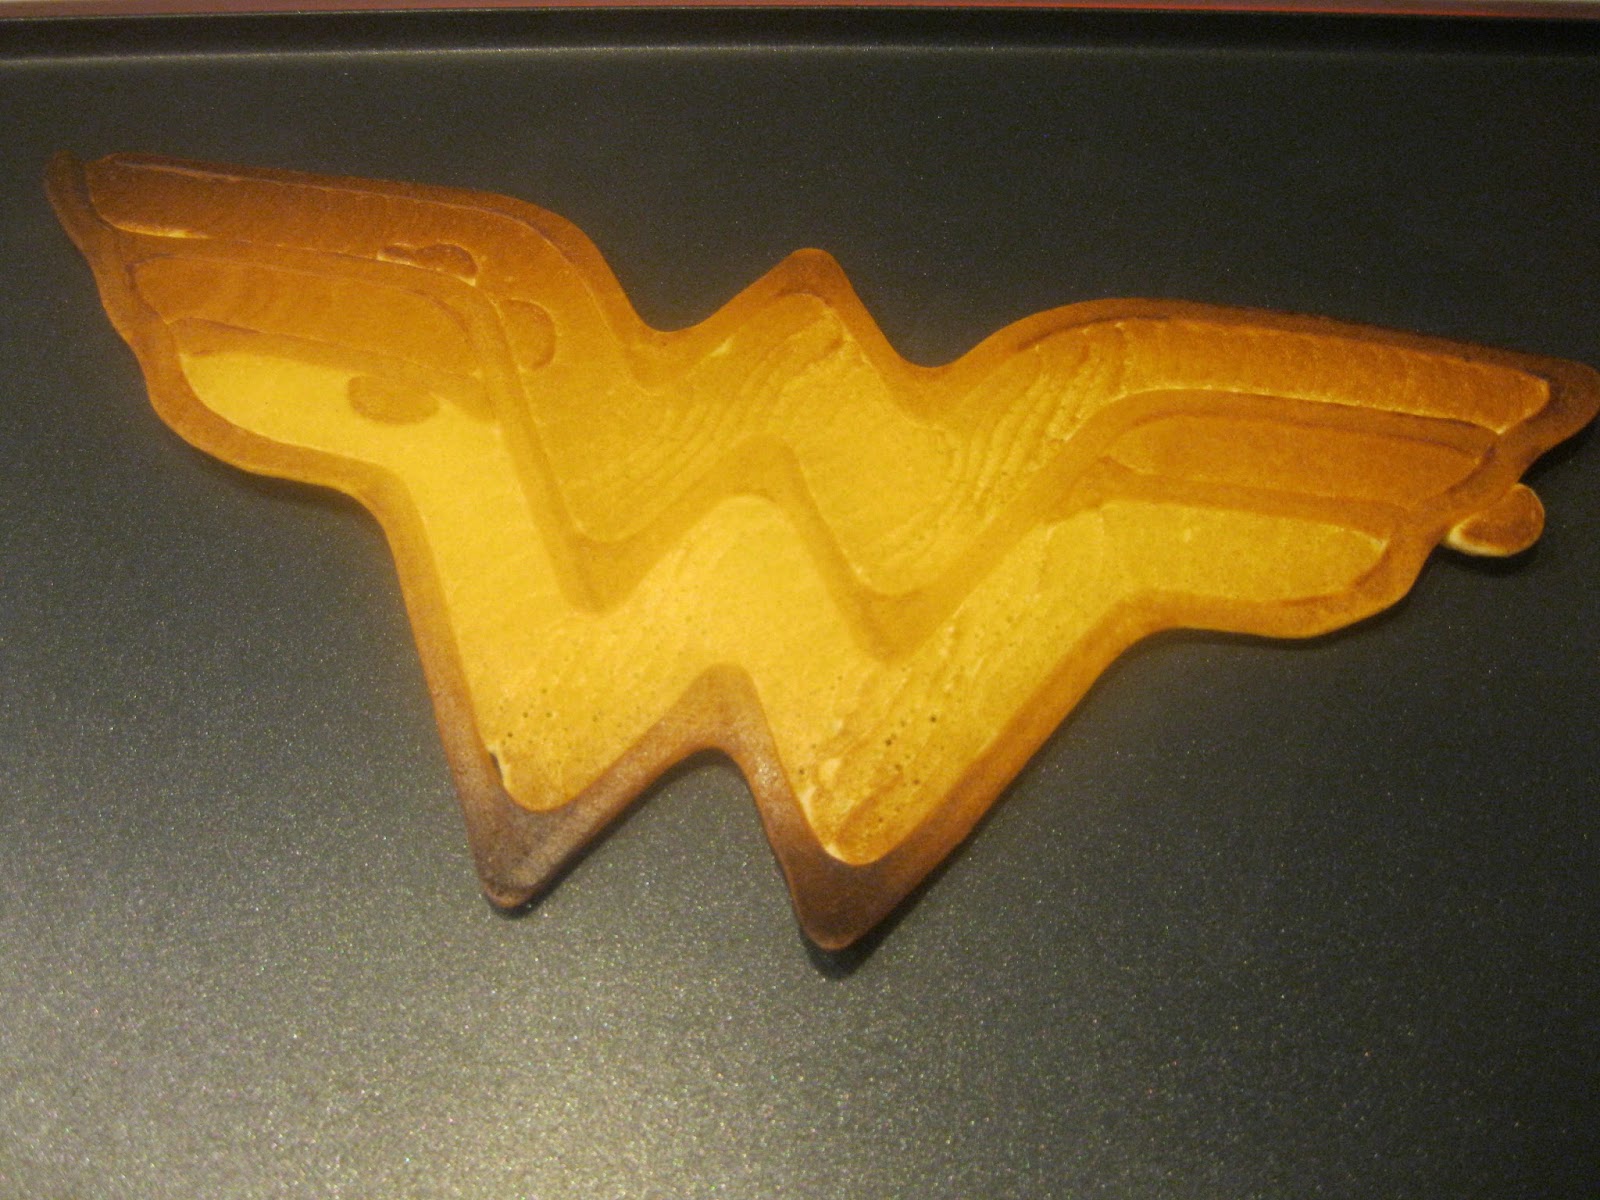
At long last, the Pancakebot we got from the Kickstarter arrived, and it's pretty much what you'd expect. It's like a 2d version of a 3d printer, laying down a single layer of pancake batter onto an integral griddle. The makers also provide a simple drawing program which is a sort of minimalist CAD/CAM package specifically designed for the Pancakebot. It lets you work in four "shades" of pancake. Depending on the darkness you select for any given line or area, it'll stagger when those lines are extruded onto the griddle. Darkest lines are first, then it pauses to let them cook, then the next lighter batch, then another pause, and so on. The nifty thing here is that ultimately the Pancakebot speaks gcode, the language (or family of languages) used by CNC machines and 3d printers. In theory, I could come up with something which converted, say, .dfx files to gcode suitable to the Pancakebot, and bypass the manual drawing interface altogether.

Now, some of the cooking process is manual. Notably, the griddle temperature and the pressure at which the batter is extruded are set with separate controls with no connection to the pancake CAM. That's probably a very good thing. Variations between batches of batter mean that you'll need to make countless small manual adjustments as you go. In our case, the batter ended up quite thin, which means I had to crank the pressure well down from the medium level I started with, though the medium heat on the griddle worked quite well.

But enough technical details. What about the pancakes? We made a mix of designs downloaded from the manufacturer's web site and ones we worked up here. It took a bit of adjustment to get things right, but once I had the right settings dialed in, it went consistently pretty well.


With the pressure up too high, the lines of the Eiffel Tower were almost entirely obscured.


Designed this one for the lovely and talented spouse. Came out pretty well.


Spider pancake, spider pancake,
Does whatever a spider cancake.
In the US and in Europe
Catches thieves like maple syrup.
Look out! Here comes the spider pancake!


In Soviet Russia, dinosaur eaten by you!


It's ultimately slower than pouring cups of batter on the griddle, but the scope for shape and shade is immense. We'll be doing this again. And we'll probably be tinting the batter; we've got some additional bottles on order, so we can do four-color pancaking.


Thursday, February 18, 2016

Sweet Dreams

A friend of my lovely and talented spouse is getting into cosplay. One of the things she's been working on is Peggy Carter. And given the opportunity to wear a fabulous red hat and totally punch a dude out with a stapler, who can blame her?

It happens that the shade of lipstick Peggy uses is commercially available. It also happens that one of the gadgets Peggy uses from time to time is a knockout agent disguised as lipstick:


You see where this is going, right? My lovely and talented spouse saw that someone had 3d-printed a "102 Sweet Dreams" case and thought that would be a suitable accessory. I agreed and ordered a tube of the right lipstick so I could properly measure a case for it.

I ended up making the case out of a whole bunch of pieces. There are the upper and lower halves of the case, of course (printed open end up to save a lot of time and support material), but I decided to print the cap-like ends as separate pieces for a smoother appearance. Likewise, to get a maximally good appearance for the name plate, I printed that as a separate bit and attached it rather than having that imprinted into the side of the printed design.


So, works pretty well. The bottom is snug enough to hold the original lipstick without having to shove it in, and it comes out reasonably easy for replacement.


Thursday, February 4, 2016

Coaster Addendum

Finally picked up some red ink, so I could complete two of the marble coasters.


Yes, I think that works.


Sunday, January 31, 2016

Diamond Distribution

The work with stone I've been doing has been marvelous fun, but there's a significant problem: like math, stone is hard. The carving has to go very slowly, taking very shallow cuts, and it is absolute hell on the bits I've been using. Carbide is great material for wood, plastic, and even some metals, but rock? I can easily kill a bit even on a small piece like the "noncompliant" carving.

So on a tip from the assembled wisdom of the internet, I decided to try a diamond bit. I happened to have a narrow diamond bit intended for engraving for a Dremel tool, which just happens to use the same 1/8" collet as most of the other bits I'm using.

Turns out that it works wonderfully. Working stone still requires slow speeds and shallow cuts, but I could turn up the speed a little bit and double the nearly-negligible depth per pass. Now, twice almost-nothing is still not very much, but it's still effectively halving carving time, which saves tremendous wear and tear on my router.

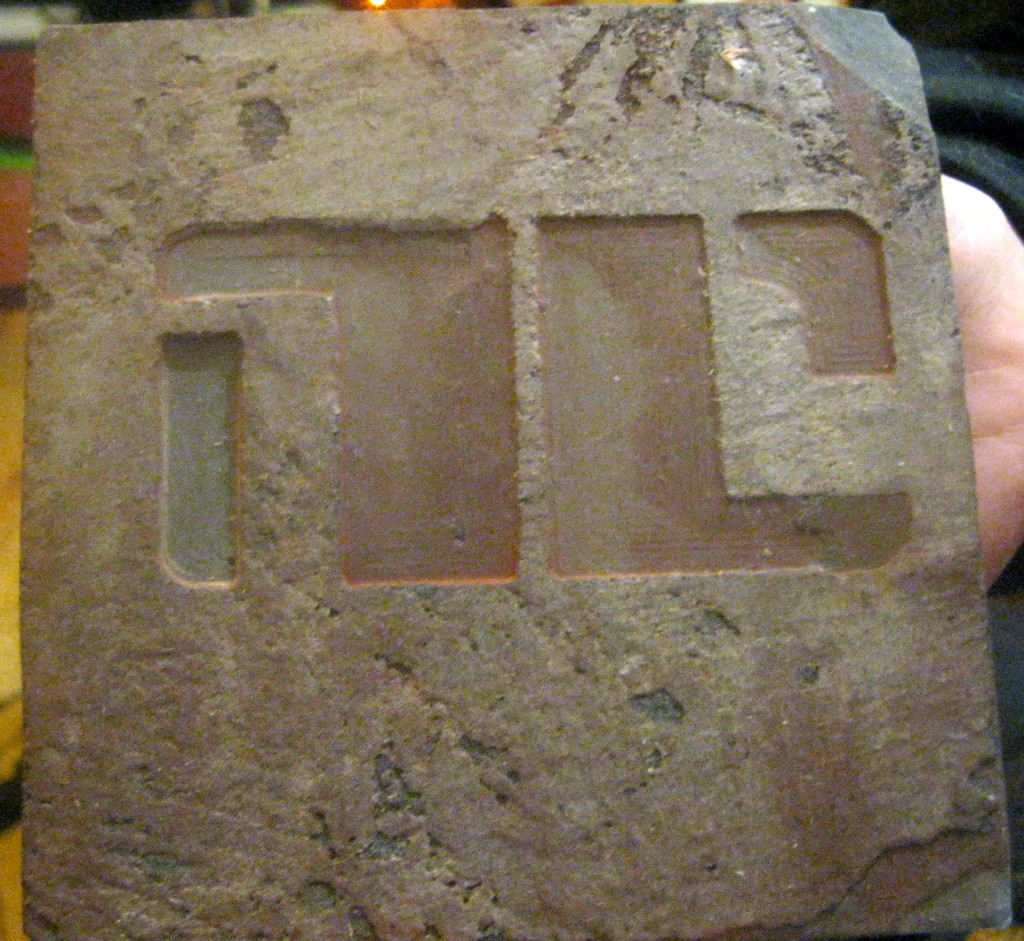
I decided to make some appropriately themed coasters for my lovely and talented spouse. I laid out the designs to carve a bunch of different symbols within a grid, getting all the carving done in one long job so I could move on to concentrate on post-processing later. I started with cheap slate tiles from the hardware store, but slate's limitations quickly became apparent. The natural variation in the surface of the slate, which is one of the things that makes it attractive, turned out to be greater than the depth to which I was cutting (about 0.8 mm). There were spots where I got no carving at all because the bit never got as far down as the stone, and at least one other where the stone was sufficiently thick that I ended up carving into much greater depth than intended and ended up snapping the bit. Is OK; I had a spare. Next up was white marble tile. The flat surface proved much friendlier to carving.


For post-processing, I experimented with a few more things. I had some metallic ink in dropper bottles, so I tried filling the carved recesses with it. Turns out that works pretty well, too.


I probably should have cut the coasters up first before using the ink, but it turned out OK in the end. Instead of taking the extra time and bit wear to have the CNC machine carve the coasters out all the way, I just pulled out the trusty old tile saw (though I did have the CNC lay down some guide lines). The only real problem I had is that one of my few successful slate pieces flaked a whole layer off the bottom. That would have been a problem had I been worried about thickness. The ink, while not water-proof, was sufficiently water resistant that I could clean them up with a quick rinse and wipe. A little adhesive felt on the bottom, and...


Some of those are unfinished. I realized too late that I don't have red, so the Superman and Flash ones will need a bit of work, and I've got a Huntress likewise awaiting purple. However, I think the carving went well here.


Tuesday, January 19, 2016

Noncompliant

One last bit of stonework:

Photo by my lovely and talented spouse. Don't tell her what to do.

Those familiar with comics will recognize this as the "noncompliant" logo from DeConnick and De Landro's Bitch Planet, carved into a piece of slate. This run used very shallow layers (cutting 0.003 in. at a time) to a mere 0.05 in. deep. You don't need a lot of depth to get some decent contrast. I'm considering getting a dropper of india ink or something to color in the letters. Still, you can tell if you look closely at the textures (or at least I can tell) how ongoing wear is affecting the bit through the run. I'm looking at carving some square-foot slate floor tile into 4 inch squares for use as coasters. Slate, by the way, it quite porous and lets water through easily, so as a coaster, it is, dare I say, noncompliant.

This piece is also notable for temporarily killing my router.  The stone carving I've been doing lately has involved running it for hours at a time at high power. The brushes in the router (actually blocks of carbon used to run current through the spinning parts in places where a wire would snap instantly) have finally worn down to the point where they can't keep contact. Fortunately, they're cheap to replace, so I should be up and running again soon.

Sunday, January 17, 2016

"Inlaid" Stone Carving

This is something I've been wanting to work with for a while. It's relatively easy to get contrasting colors when engraving or carving. Just paint or stain the surface; the area which is carved away will reveal the original color of the material. But I wanted to do it the other way around: leave most of the material the original color and fill in the carved bits with something else.

The obvious dodge here is to mask the entire surface with something that'll stick around during carving, throw paint/stain/whatever at the piece post-carving, then remove the mask which has been protecting the original surface. But how to do that, exactly?

This probably would have been easier if I'd started with wood rather than stone, but that's where I went with it. My first attempt was to use painter's tape. That didn't work at all. The milling goes just fine (Carbide bit a lotsa rpms? Yeah, a little sticky paper won't slow it down.), but the tape doesn't stick well enough. It started peeling up around the carved areas pretty quickly. Next approach: wax.

Step one was to shave a bunch of flakes of parafin wax.


Then get a garden variety marble floor tile and put the wax on it.


I heated the tile in a very low oven to help the melting process, but most of the work was done with an iron, protected from the wax by a layer of foil. That worked remarkably well, though I had to add a bit more to the corners.


Once, the wax cools (which is pretty quick this time of year), it's off to carving. I zeroed my Z-axis to the surface of the marble. Like the tape, the thin film of wax offers no appreciable resistance to the carving bit.


Once the carving is done, there's a lot of dust, so I spent some time gently dusting it off. Then I masked over the under-waxed corners and edges and hit the piece with some spray paint.


(That design, by the way, is the House Carlyle crest from Greg Rucka's Lazarus. You should read it.)

After a few hours to dry, it's back into a low oven to soften the wax. Parafin is flammable, so this is probably a bad idea and I should have used a hair dryer or the iron again.  Anyway, when it's been heated enough for the wax to soften ("Bake at 200 degrees for 15-20 minutes or until golden brown."), scrape the layer of wax and paint off, mop up excess wax, and:


Not perfect, but not bad, either. This is probably close to the best I'll be able to do, but it might help if, on the carving step, I took more shallow passes rather than one deep one (deep, in this case, being 0.02 inches), but adding up to a greater total depth so that the paint can get a bit deeper.

Wednesday, January 13, 2016

Footstool

The CNC is making it a bit too easy to fill up the house with furniture.

My lovely and talented spouse is not a tall woman. Much furniture is the wrong size for her, leaving her feet dangling uncomfortably just an inch or two higher than where they should be. So, then, a small footstool was in order.

The basic shape is just a box, really, and there are lots of places on the internet where one can create plans for a box which can be happily consumed by CAD/CAM software. Indeed, Easel has a box-planing module built in. So mostly is was just a question of putting in dimensions for a box of the right size and editing out a bunch of tabs to leave the top and bottom open. To that, I added some holes for dowels in two of the faces; they support a cushion. And to make it both prettier and lightweight, I added some symmetrically placed Indian/Persian/Middle Eastern cutouts all around. Throw some sheets of wood on the CNC, glue it up, and plop a cushion on it:


I may, at some point, stain it to match the rest of the room, but not in this weather.